Use Zoom Provider Exchange to connect your Telnyx account to Zoom Phone, associate Telnyx phone numbers with the integration, and assign those numbers to Zoom users. This guide also explains how to unassign numbers and remove the integration.
Before you begin
You need:
- A Zoom account with Zoom Phone enabled and access to Phone System Management.
- A Telnyx account. You can sign in to an existing account or create one during setup.
- An Outbound Voice Profile to select when creating the integration.
- Telnyx phone numbers that are not already assigned to a SIP Connection, or the option to purchase new numbers during setup.
You can manage the integration from External Voice Integration in the Telnyx portal.
1. Select Telnyx in Zoom Provider Exchange
-
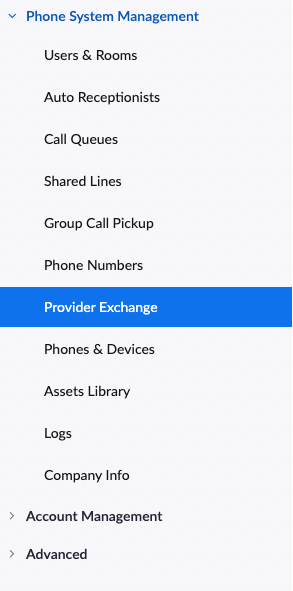
Go to Phone System Management > Provider Exchange.
-
Search for Telnyx in the provider list.

-
Select Connect. Zoom redirects you to the Telnyx portal.
If your Zoom account is already connected to Telnyx, the provider status displays Connected with a green checkmark.
2. Sign in to Telnyx
Choose the option that matches your account.
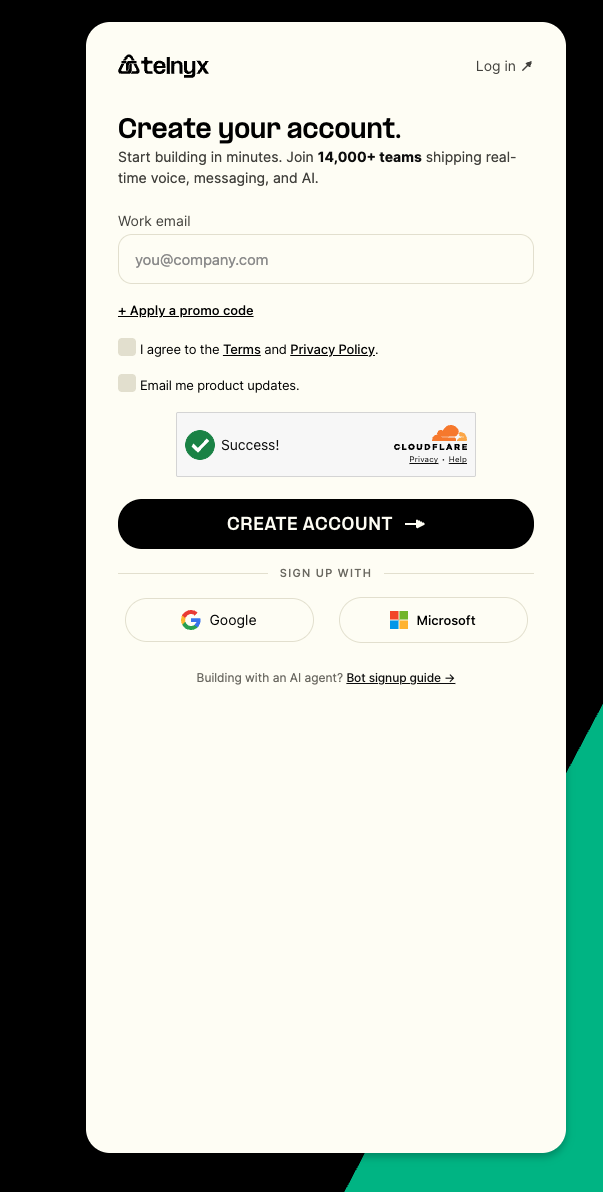
Create a new Telnyx account
Complete the Create a free account form with your account details.
Use an existing Telnyx account
Sign in to your existing Telnyx account using the available sign-in options.
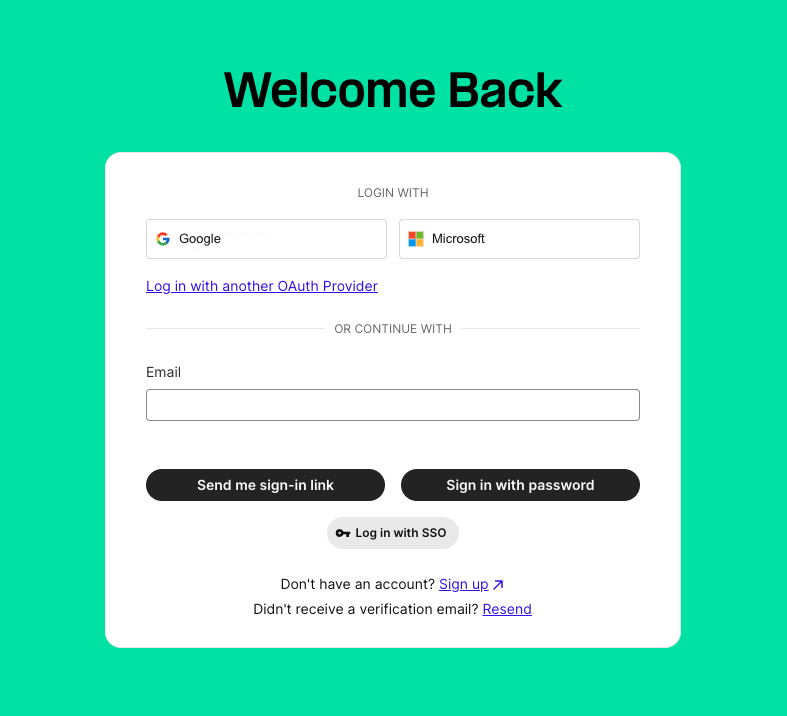
After signing in, you are redirected to the External Voice Integration screen.
3. Create and authorize the integration
-
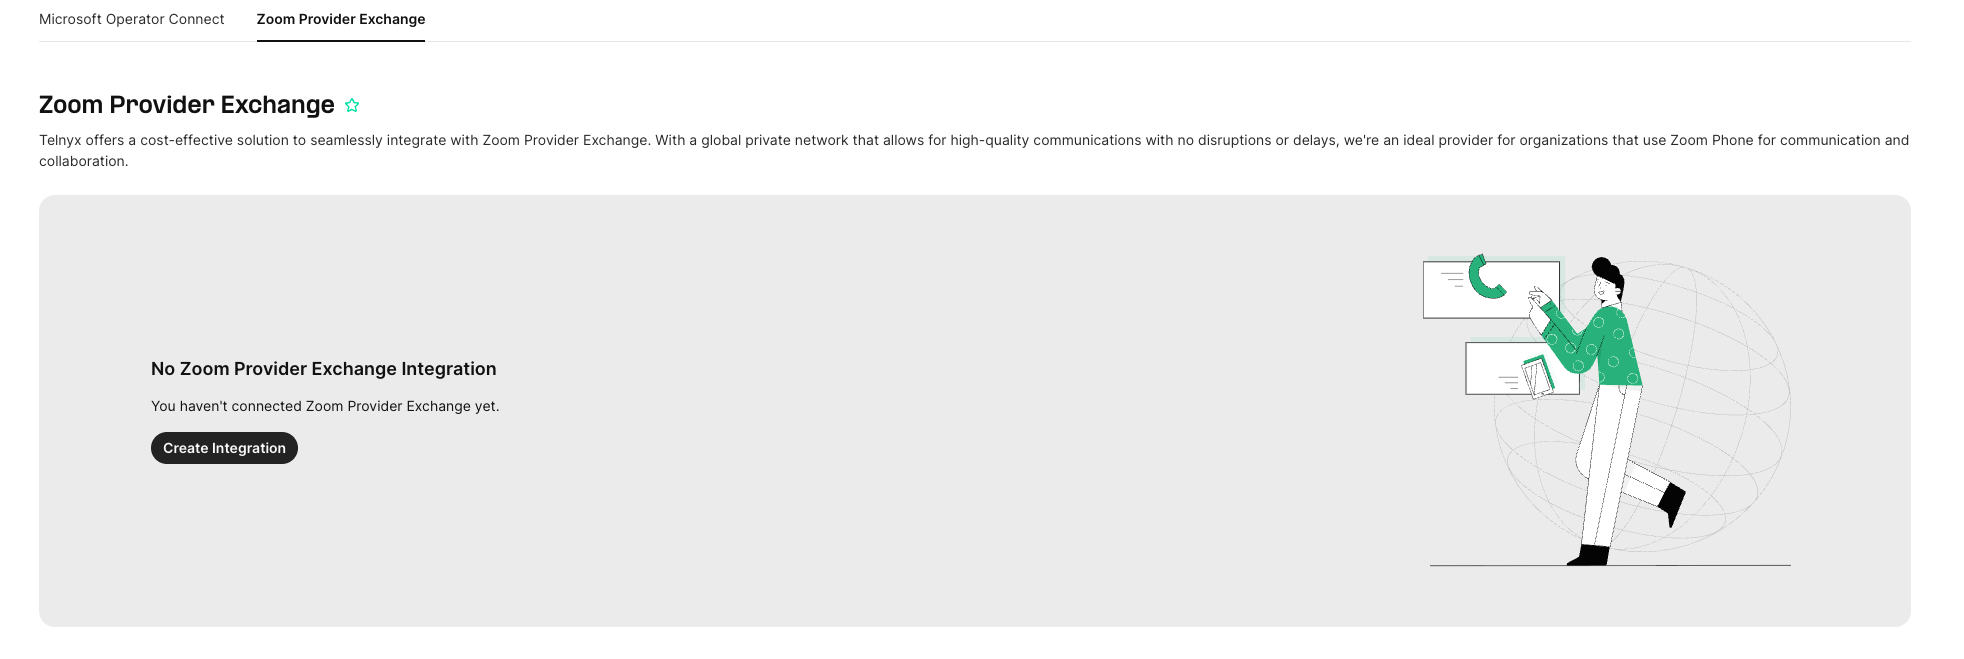
Select Create Integration in the Telnyx portal. You are redirected to Zoom.
-
Sign in to Zoom if prompted.
-
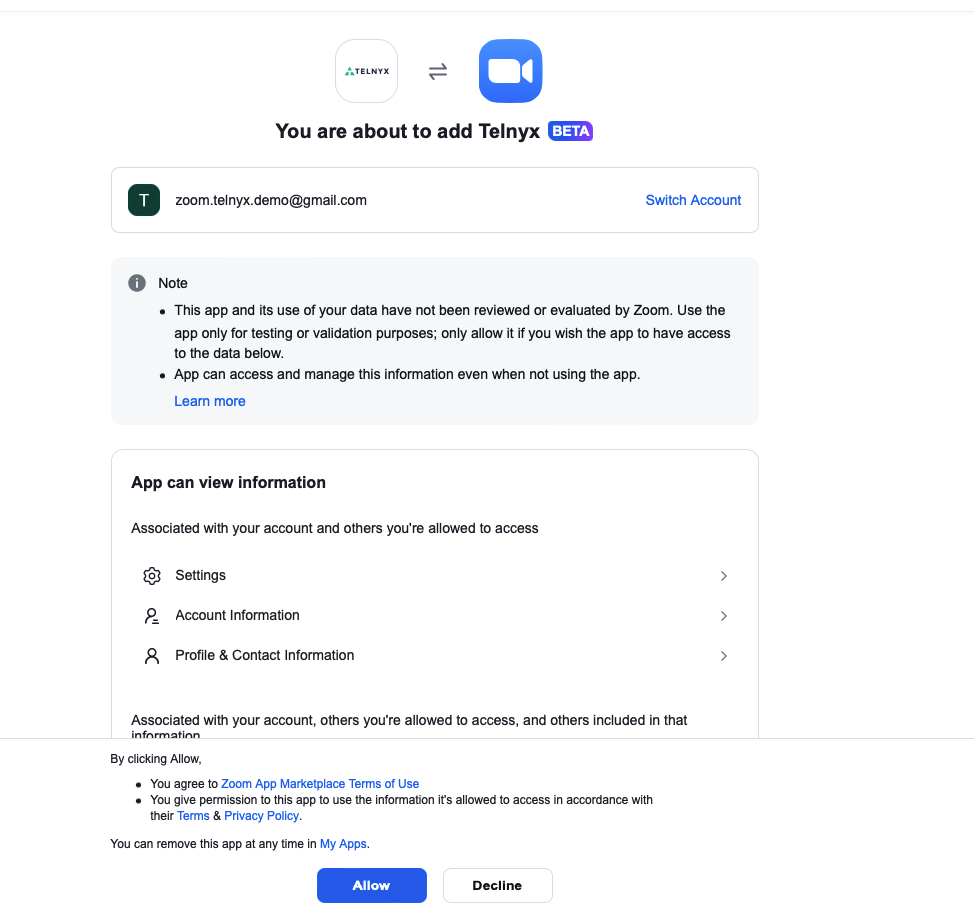
Review the authorization request and allow the Telnyx app to access your Zoom account.
-
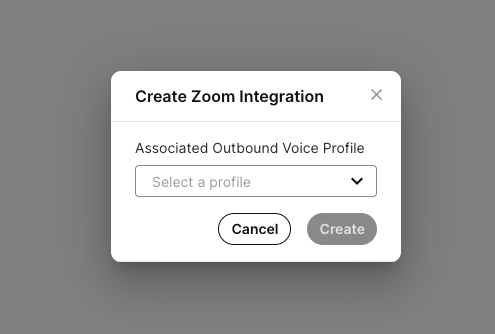
After Zoom redirects you back to Telnyx, select an Outbound Voice Profile from the list.
-
Select Create.
Selecting an Outbound Voice Profile is required. Explicitly select the default profile or another profile you have created. See More About Outbound Voice Profiles for configuration details.
Zoom normally presents the authorization request once, unless you revoke the app's authorization in Zoom.
4. Associate Telnyx numbers with the integration
You can associate existing numbers or purchase new ones.
Use existing numbers
-
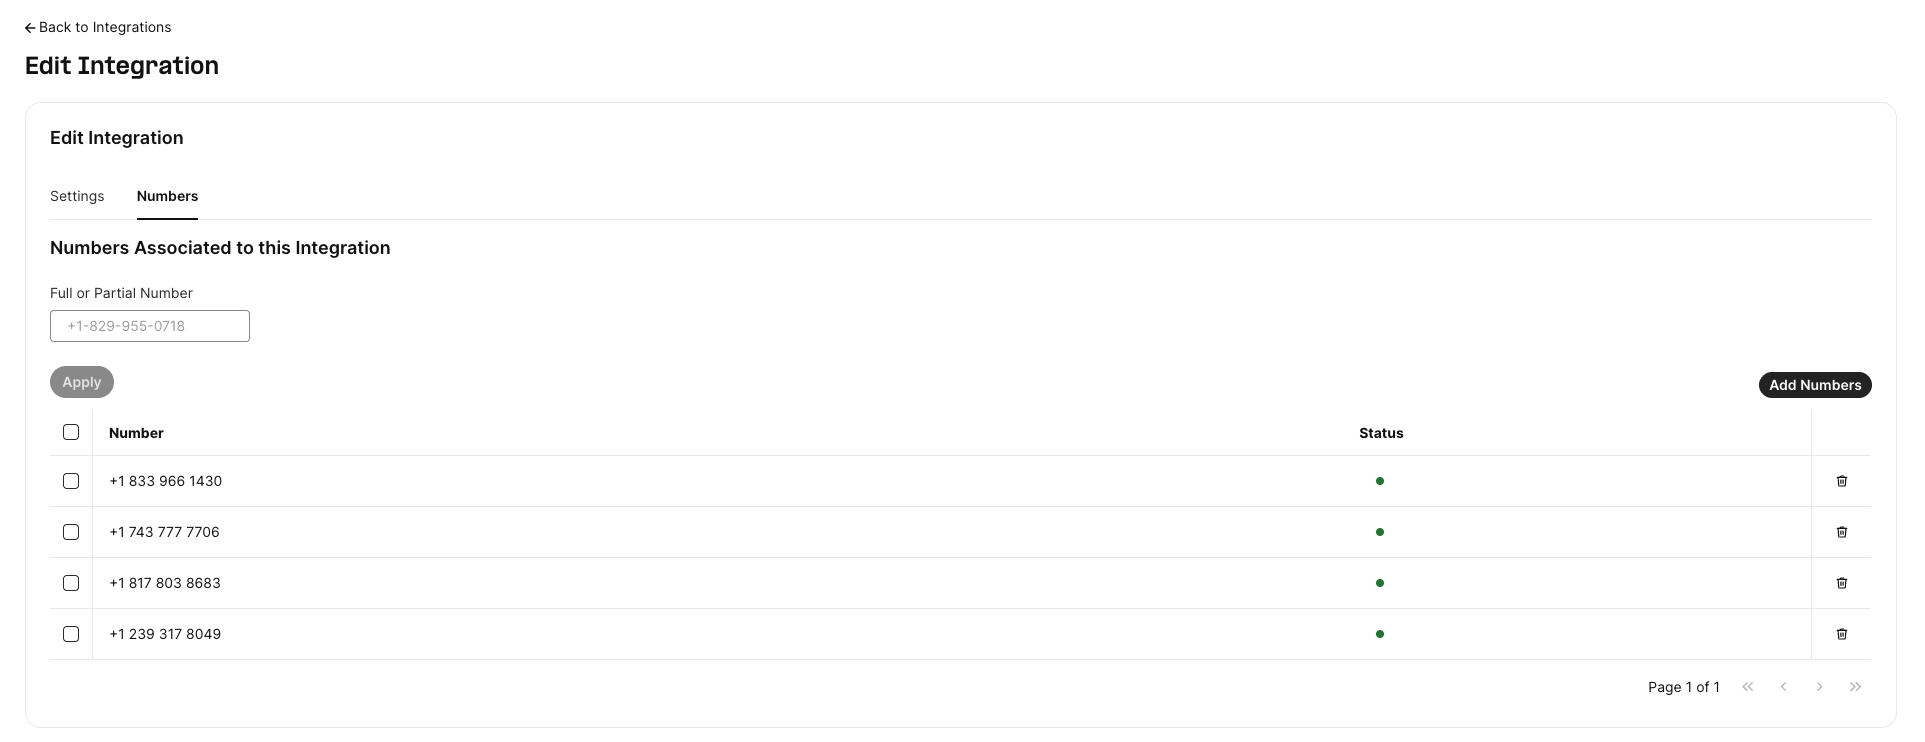
Open the Zoom integration's Numbers tab in the Telnyx portal.
-
Select Add Numbers.
-
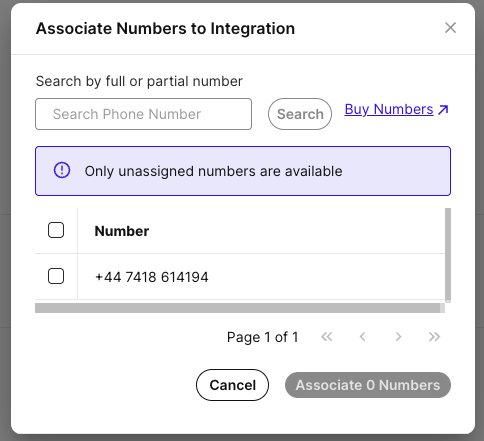
Search for the numbers you want to associate. Only numbers that are not already assigned to a SIP Connection are available.
-
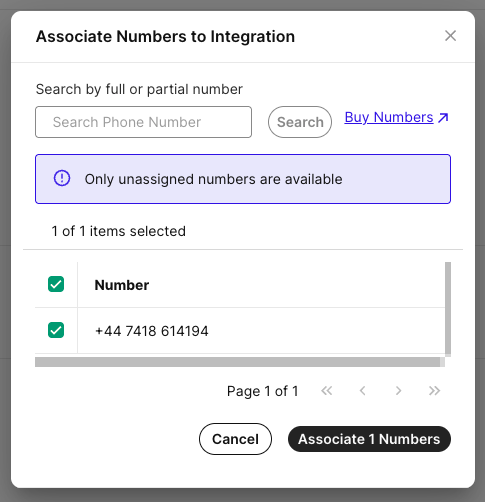
Select the numbers, then choose Associate Numbers to confirm the association.
-
Verify that the numbers appear in the integration's number list with an Active status.
Buy new numbers
Select Buy Numbers to open the Search & Buy Numbers screen in the Telnyx portal. Purchase the numbers you need, then associate them with the Zoom integration.
See Search and Buy Numbers for purchasing instructions.
5. Assign a number to a Zoom user
Associating a number with the Telnyx integration makes it available in Zoom. You must also assign it to a Zoom user.
-
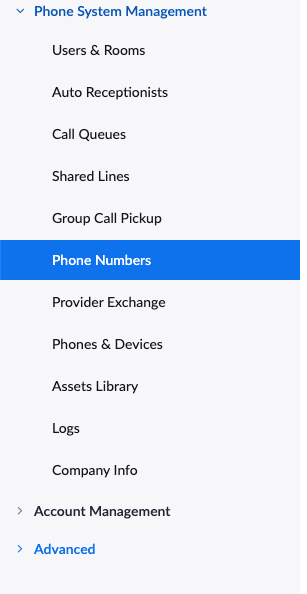
In the Zoom portal, go to Phone System Management > Phone Numbers.
-
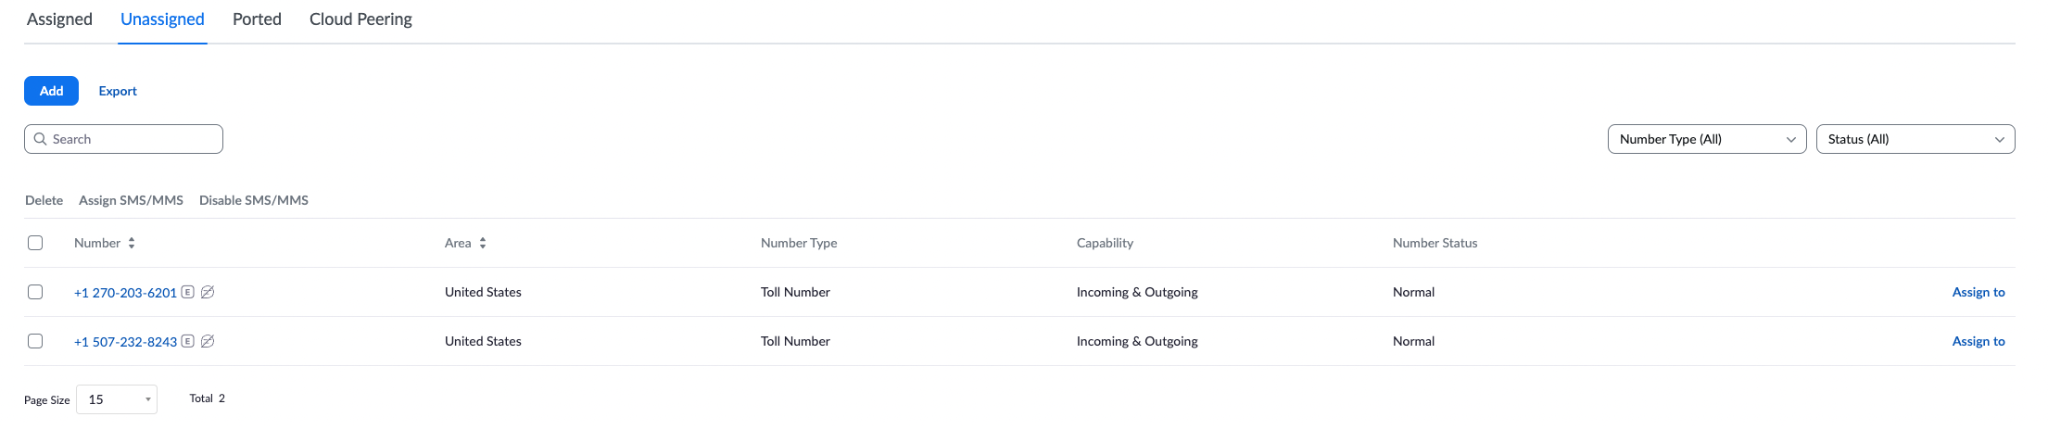
Select the Unassigned tab.
-
Find the Telnyx number you associated with the integration.
-
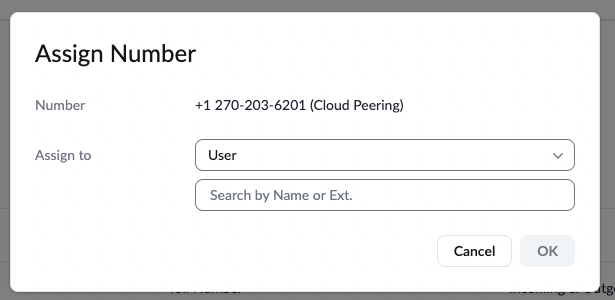
Select Assign To.
-
Select the user and choose OK.
-
Verify that the number and user appear in the Assigned tab.
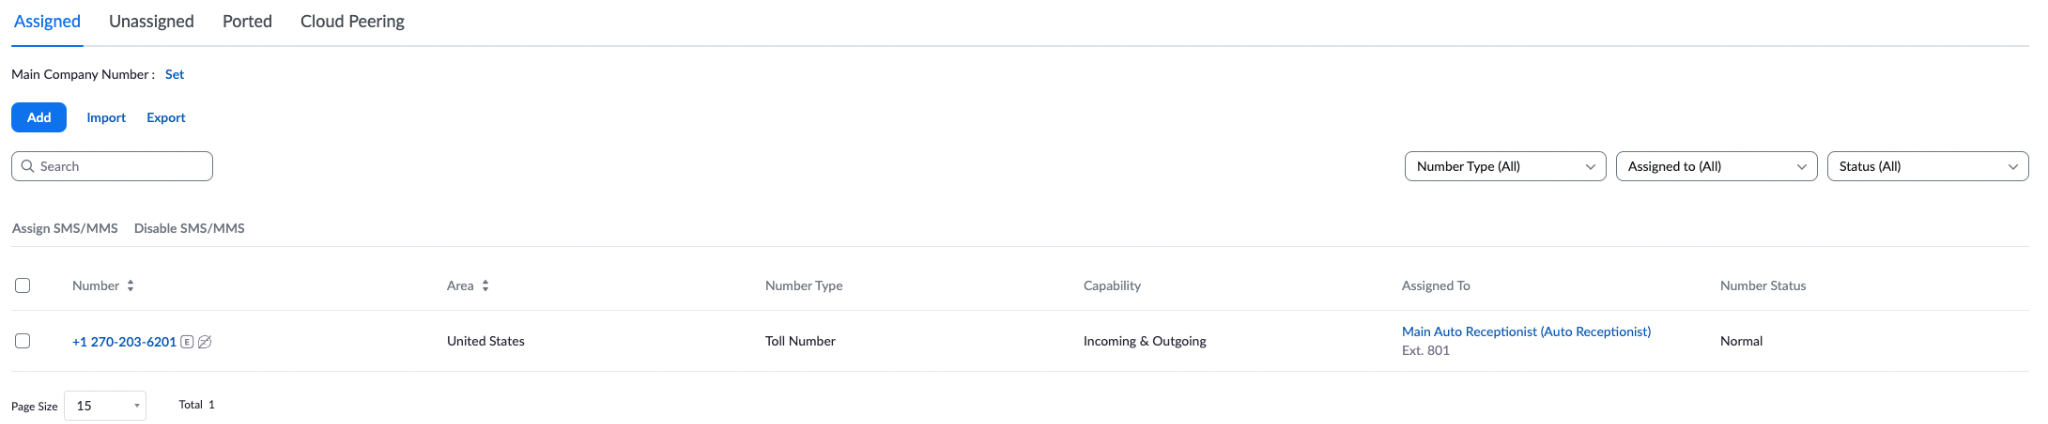
Unassign a number from a Zoom user
Unassign the number in Zoom before removing it from the Telnyx integration.
-
In the Zoom portal, go to Phone System Management > Phone Numbers.
-
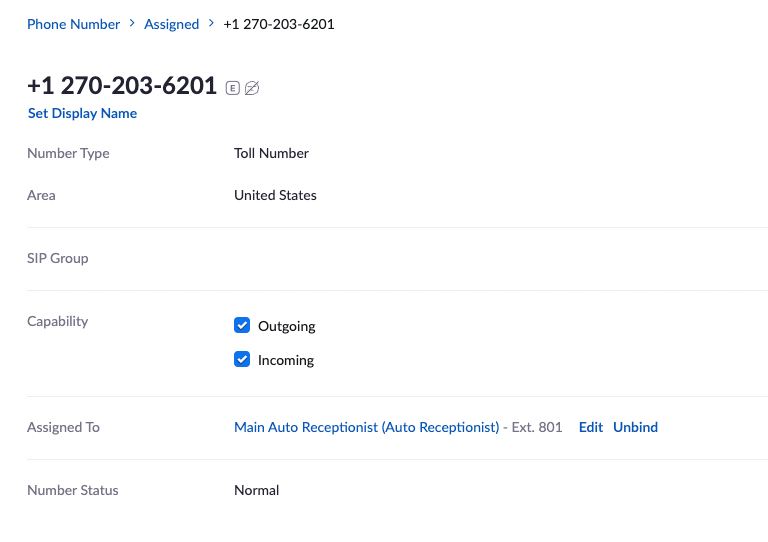
Open the Assigned tab and select the Telnyx number.
-
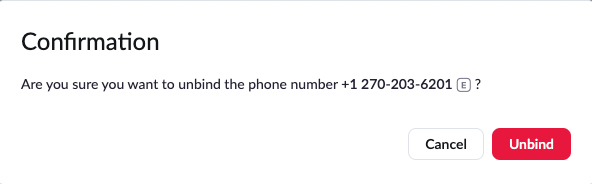
Select Unbind to open the confirmation dialog.
-
Confirm by selecting Unbind.
-
Verify that the number no longer appears in the assigned-number list.
Remove a number or the integration
Complete the following actions in order when removing the entire integration:
| Action | Required first |
|---|---|
| Remove a number from the Telnyx integration | Unassign the number from its Zoom user. |
| Disable the Zoom integration | Remove all numbers associated with the integration. |
| Delete the Zoom integration | Disable the integration. |
Remove a number from the Telnyx integration
-
Unassign the number from its Zoom user as described above.
-
In the Telnyx portal, open External Voice Integration.
-
For the Zoom integration, select Actions > Edit Integration.
-
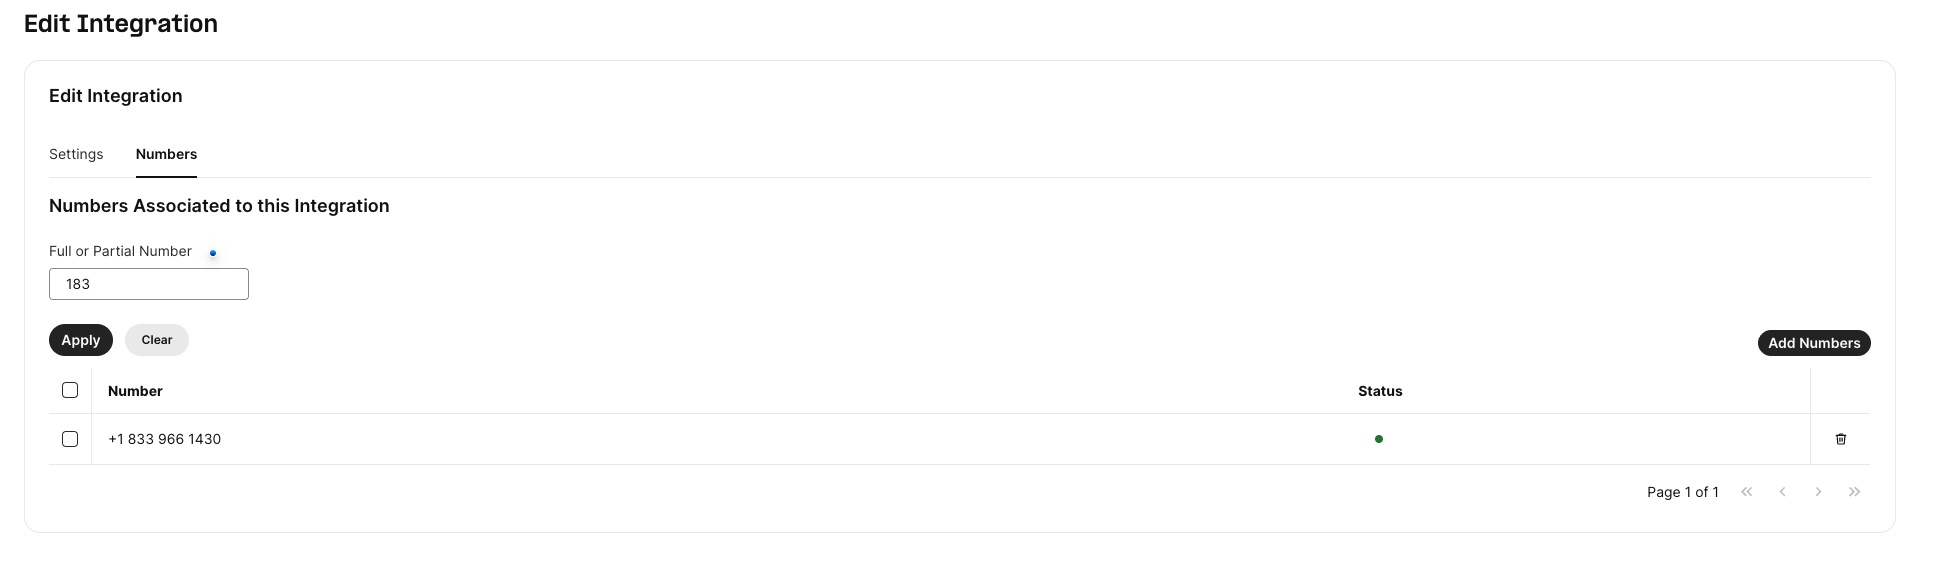
Open the Numbers tab.
-
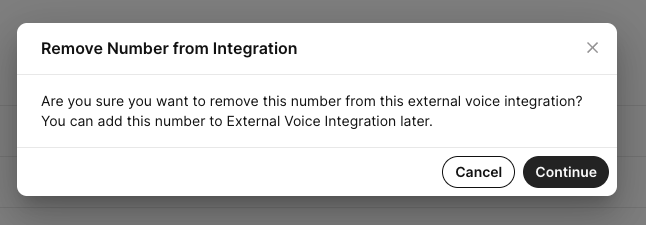
Select the bin icon next to the number to open the removal confirmation.
-
Select Continue to confirm removal.
-
Verify that the number no longer appears in the integration's number list.
Removing a number from the integration does not delete it from your Telnyx account. You can reuse it for another purpose or add it back to the Zoom integration. See My Numbers Page for number-management details.
Disable the Zoom integration
You can disable the integration only after removing all associated numbers.
-
Open External Voice Integration in the Telnyx portal.
-
Select Actions > Edit Integration for the Zoom integration.
-
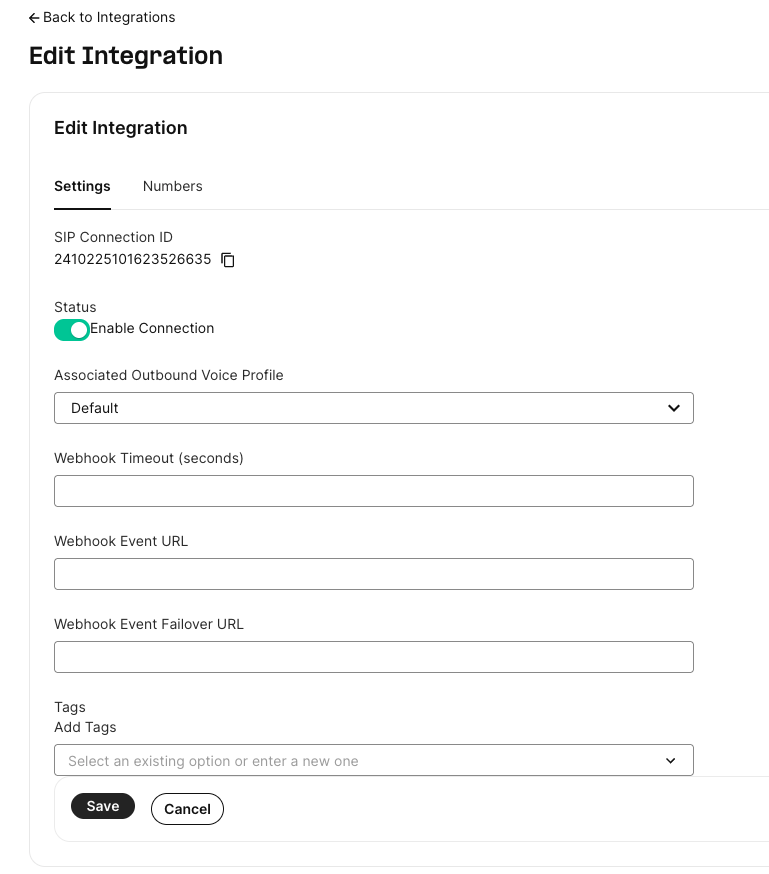
Open the Settings tab.
-
Turn off Enable Connection and save the change.
Delete the Zoom integration
You can delete the integration only after disabling it.
-
Return to External Voice Integration.
-
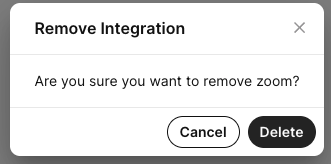
For the Zoom integration, select Actions > Remove Integration.
-
Confirm the removal by selecting Delete.
The Zoom External Voice Integration is removed from your Telnyx account.